Chapter 5 Getting acquainted with Grass GIS
We will Grass GIS to process the data we have acquired. It will also let you understand the working of Grass GIS. Just follow the steps in this chapter and I will explain things as we go. We will use windows version of Grass GIS 7.8.
5.1 Starting Grass GIS
Create a folder inside your working directory and name it appropriately. We will use this folder for Grass. Open Grass GIS user interface by entering Grass GIS in the windows search box.
First screen in the user interface will ask you to select database directory. The database directory is where all the GIS data will be saved in the format supported by Grass. Follow the two steps below to select directory which is empty at present.
- Click Browse.
- Select the folder we just created.
(#fig:start_grass)Grass Start up Screen
After selection of the folder, the interface will notify you that we don’t have any Grass Location. We will need to create new location based on our data.
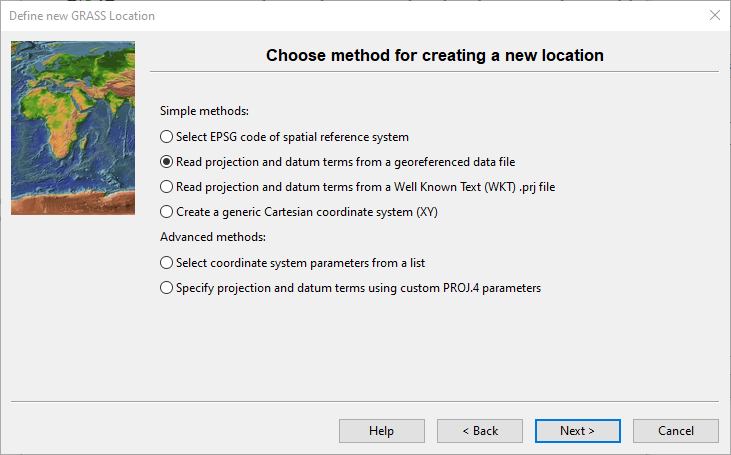
5.2 Create new location
Click New Button. In the next screen input the name of location and other details as shown. Click Next button.
(#fig:grass_location)Create Folder for Grass Workspace
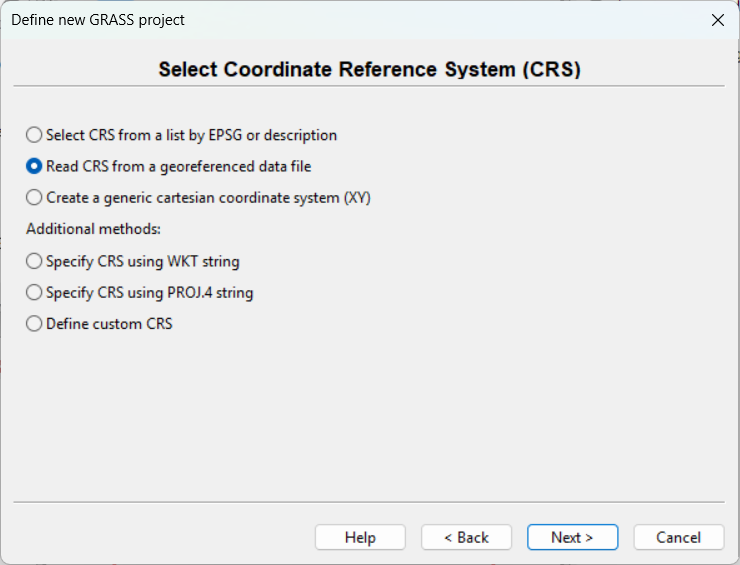
5.2.1 Select georeferenced file
In the new screen, select the option to read a georeferenced file as shown.
(#fig:set_location)Set Projection Screen
In the next screen, select the elevation data file dem_rect.tif by clicking Browse button.
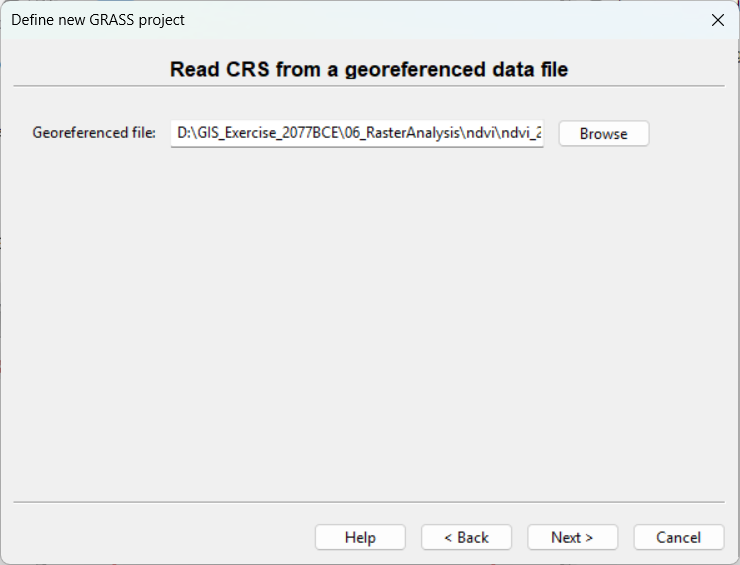
(#fig:set_location_2)Set {Projection from Existing Data
The next screen will show the projection of the data and summary. Our data has UTM Zone 45 projection. All the consequent file import will automatically be reprojected to this projection. Click Finish to complete the creation of grass location and import of elevation data. When you are asked to import the elevation data, click Yes. You will return to the starting screen. Click Start Grass GUI. The screen will be closed and two different user interfaces will be displayed.
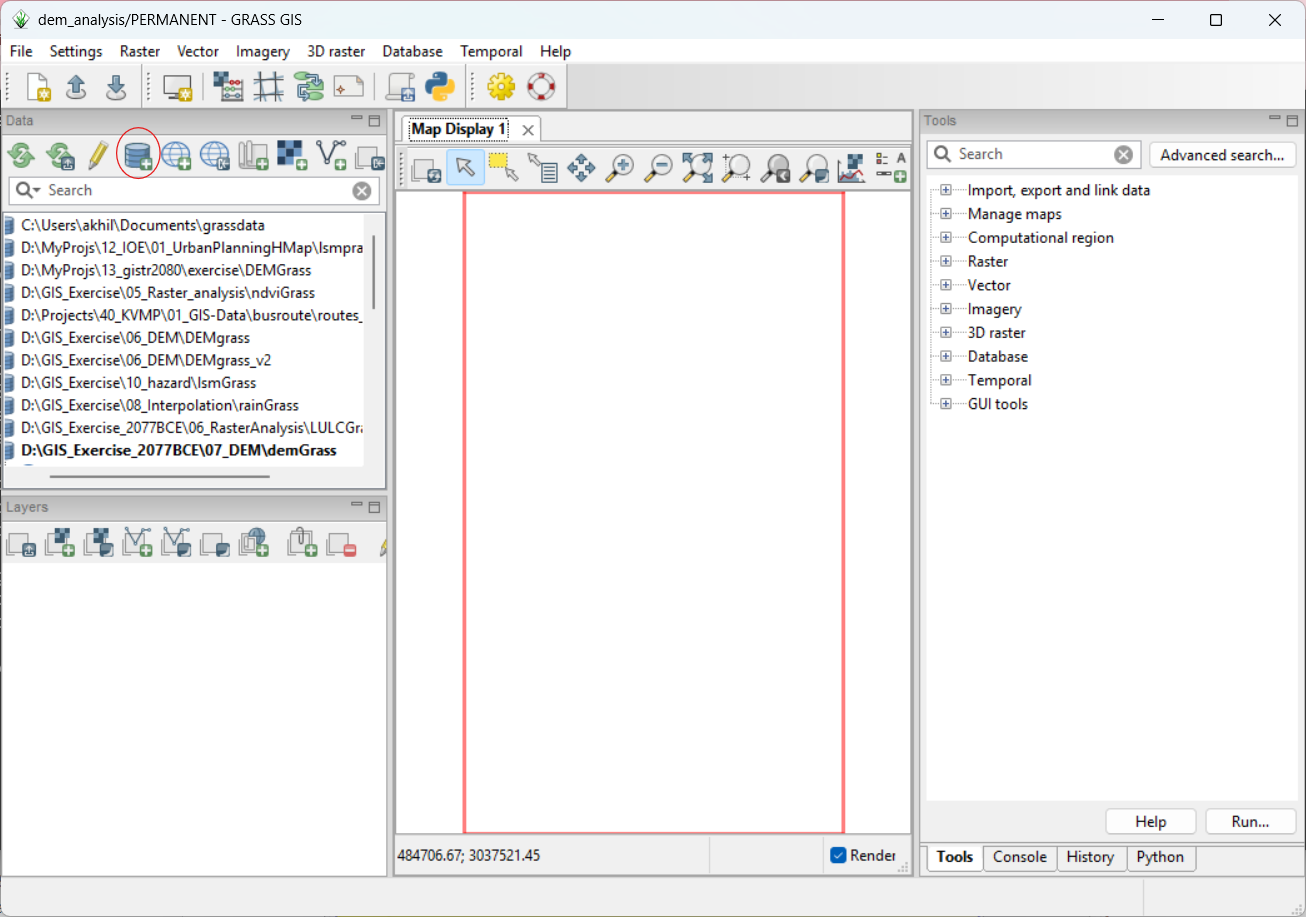
5.3 User interfaces of Grass
Following image shows the two user interfaces. The left screen is used to add GIS layers and GIS operations. The screen on the right displays the map when a layer is added to the left. Unlike other softwares, GIS data cannot be displayed without importing to Grass format. There are five different tabs which can be used for various purposes which will explained as needed.

(#fig:user_interface)Grass Working Interface
We have already imported elevation data to Grass. Let us try to display it. As shown in the figure, follow the steps below.
- Click tool Add raster map layer.
- In the next screen, click the drop down to show the available maps.
- Select dem_rect which we have added earlier.
- Now you can see the elevation raster added to the map display.
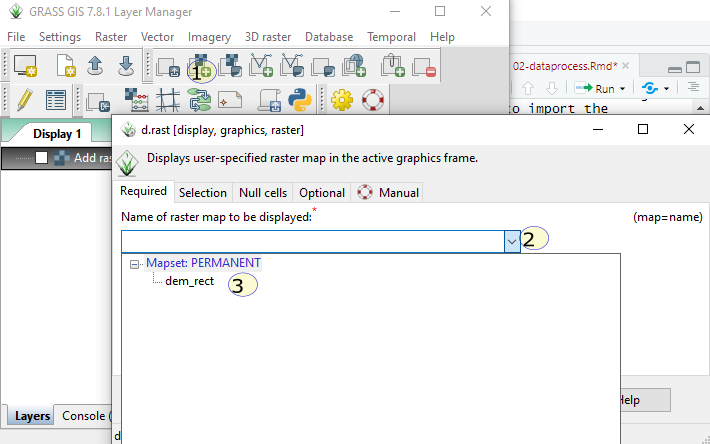
(#fig:add_raster)Add Existing Raster Layer to the Map Display